Crawl Space Foundation Repair in Cincinnati, OH
Challenge
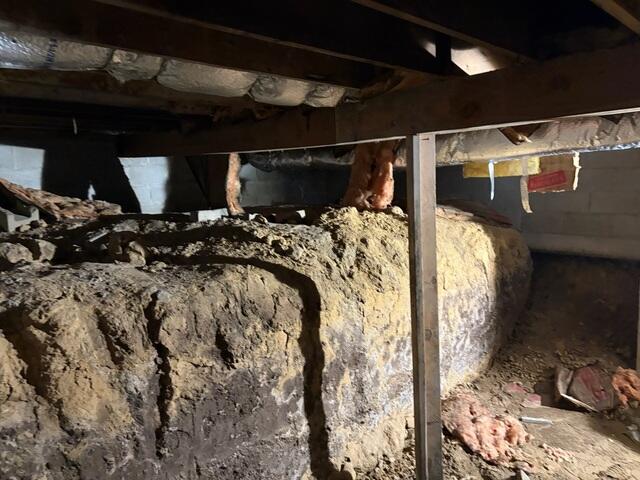
This home in Cincinnati was experiencing several foundation issues, including a wet crawl space, sagging kitchen floors, and a sinking garage foundation.
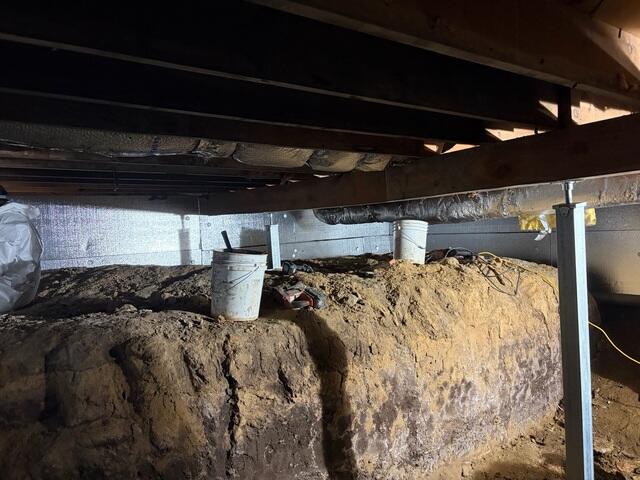
The crawl space had a dirt floor, which was allowing ground moisture to seep into the space. The moisture had soaked into the fiberglass in the ceiling, causing the insulation to gain weight and fall to the floor. The wet space was also a breeding ground for pests, insects, and microbial growth.
Above the crawl space, the homeowners didn't just notice musty smells and drafts, they also felt their floor boards sag when they walked across them in their kitchen. The floor joists in the crawl space weren't receiving proper lateral support.
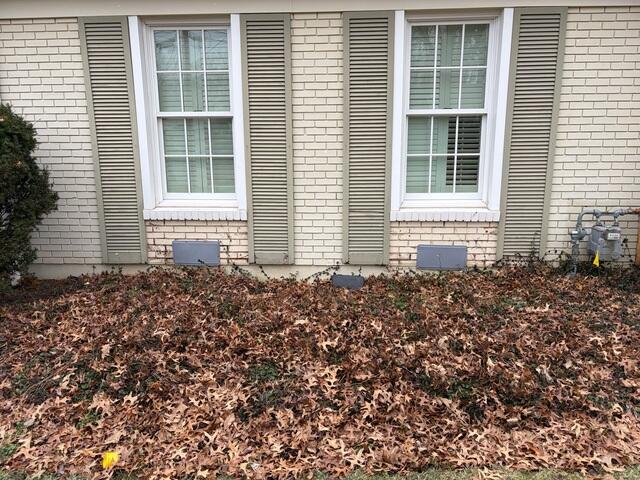
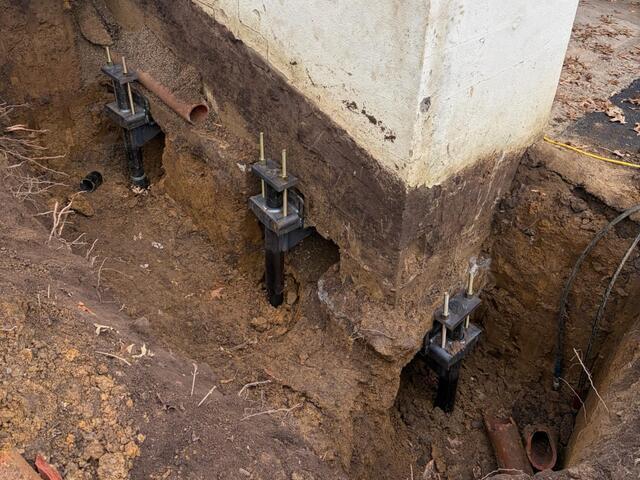
Lastly, a wall in their garage revealed stair step cracking. This was because the foundation was sinking vertically into problematic soil under their garage.
Solution
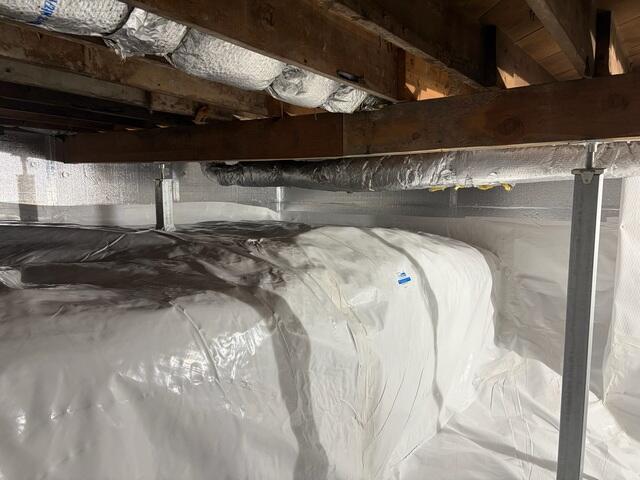
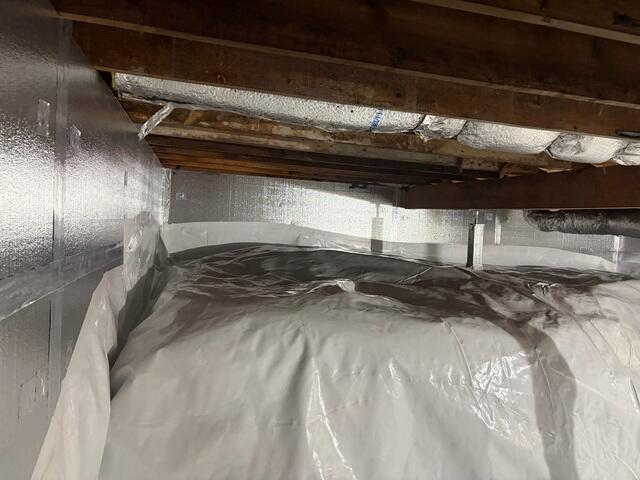
To fix the wet crawl space, we started by waterproofing the space with perimeter drainage pipes, which were installed in the ground. When installing the pipes, we made sure to surround the drains with a gravel backfill. We then hooked the drains up to a SmartSump sump pump, which was installed in the lowest graded part of the crawl space floor. After waterproofing the space, we then wrapped the walls with our SilverGlo insulation panels. These panels are made of graphite, making them completely anti-microbial. These panels help reflect heat back into the space thanks to their radiant barrier surface. These panels also allowed us to remove the wet fiberglass insulation in the floor joists. Next, we installed our dimpled drainage matting across the floor to protect the vapor barrier, which we later installed over the top of the drainage matting. The dimpled drainage matting allows moisture to work its way to the sump pump underneath the vapor barrier. The matting also makes the vapor barrier more durable, which is especially helpful since the homeowners planned to store items in their newly transformed space.
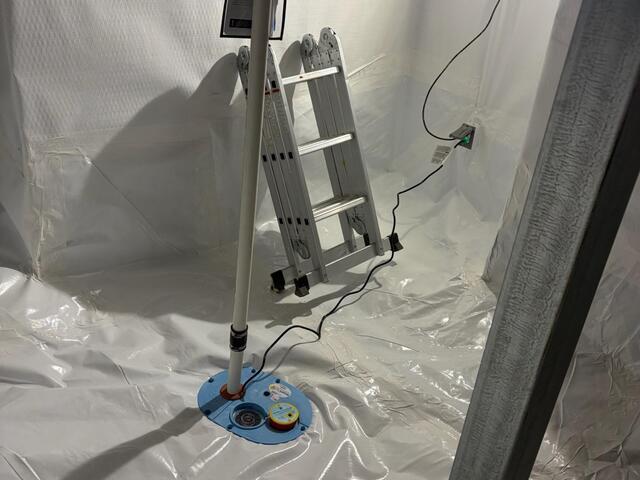
Next, we installed two SmartJack posts underneath the main beam in the crawl space to help stabilize the kitchen floors above. These posts replaced the failing wooden posts, which weren't strong enough to hold up the floors above.
Lastly, we completely sealed the space by wrapping the entire space with our CleanSpace vapor barrier. Our 20 mil thick vapor barrier is made of antimicrobial material, which will help keep the space smelling fresh. We taped the vapor barrier up over the SilverGlo panels on the walls, across the floors, and around the SmartJack posts. We fitted the vapor barrier into the airtight sump lid, creating an airtight seal everywhere. To finish the encapsulation, we covered the vents from the outside with our EverLast crawl space vent covers.
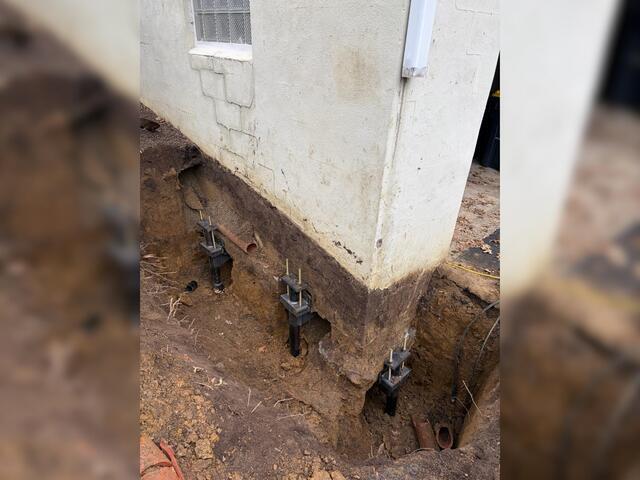
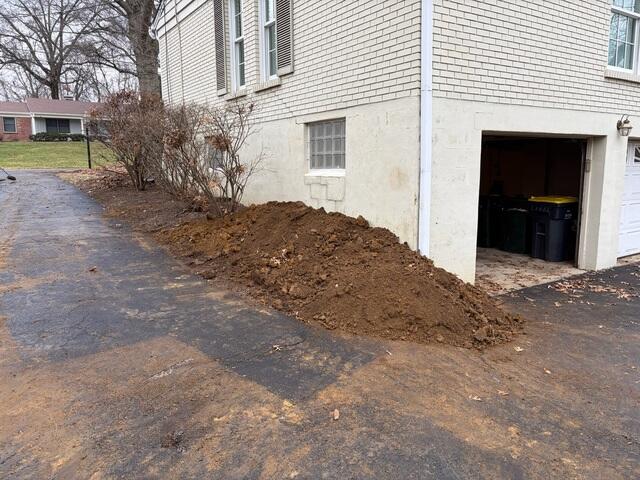
To fix the garage foundation, we underpinned the sinking part of the foundation with our helical pier system. We started by digging underneath the footing of the foundation to make room for our piers. We then started drilling our piers down vertically underneath the foundation until the piers reach load-bearing soil, (found 20-30 feet below the surface). After drilling, we then transferred the weight of the garage to the piers by latching our "L" shaped brackets up underneath the footing of the garage. After stabilizing, we then backfilled the trench with soil, completely concealing the pier system.